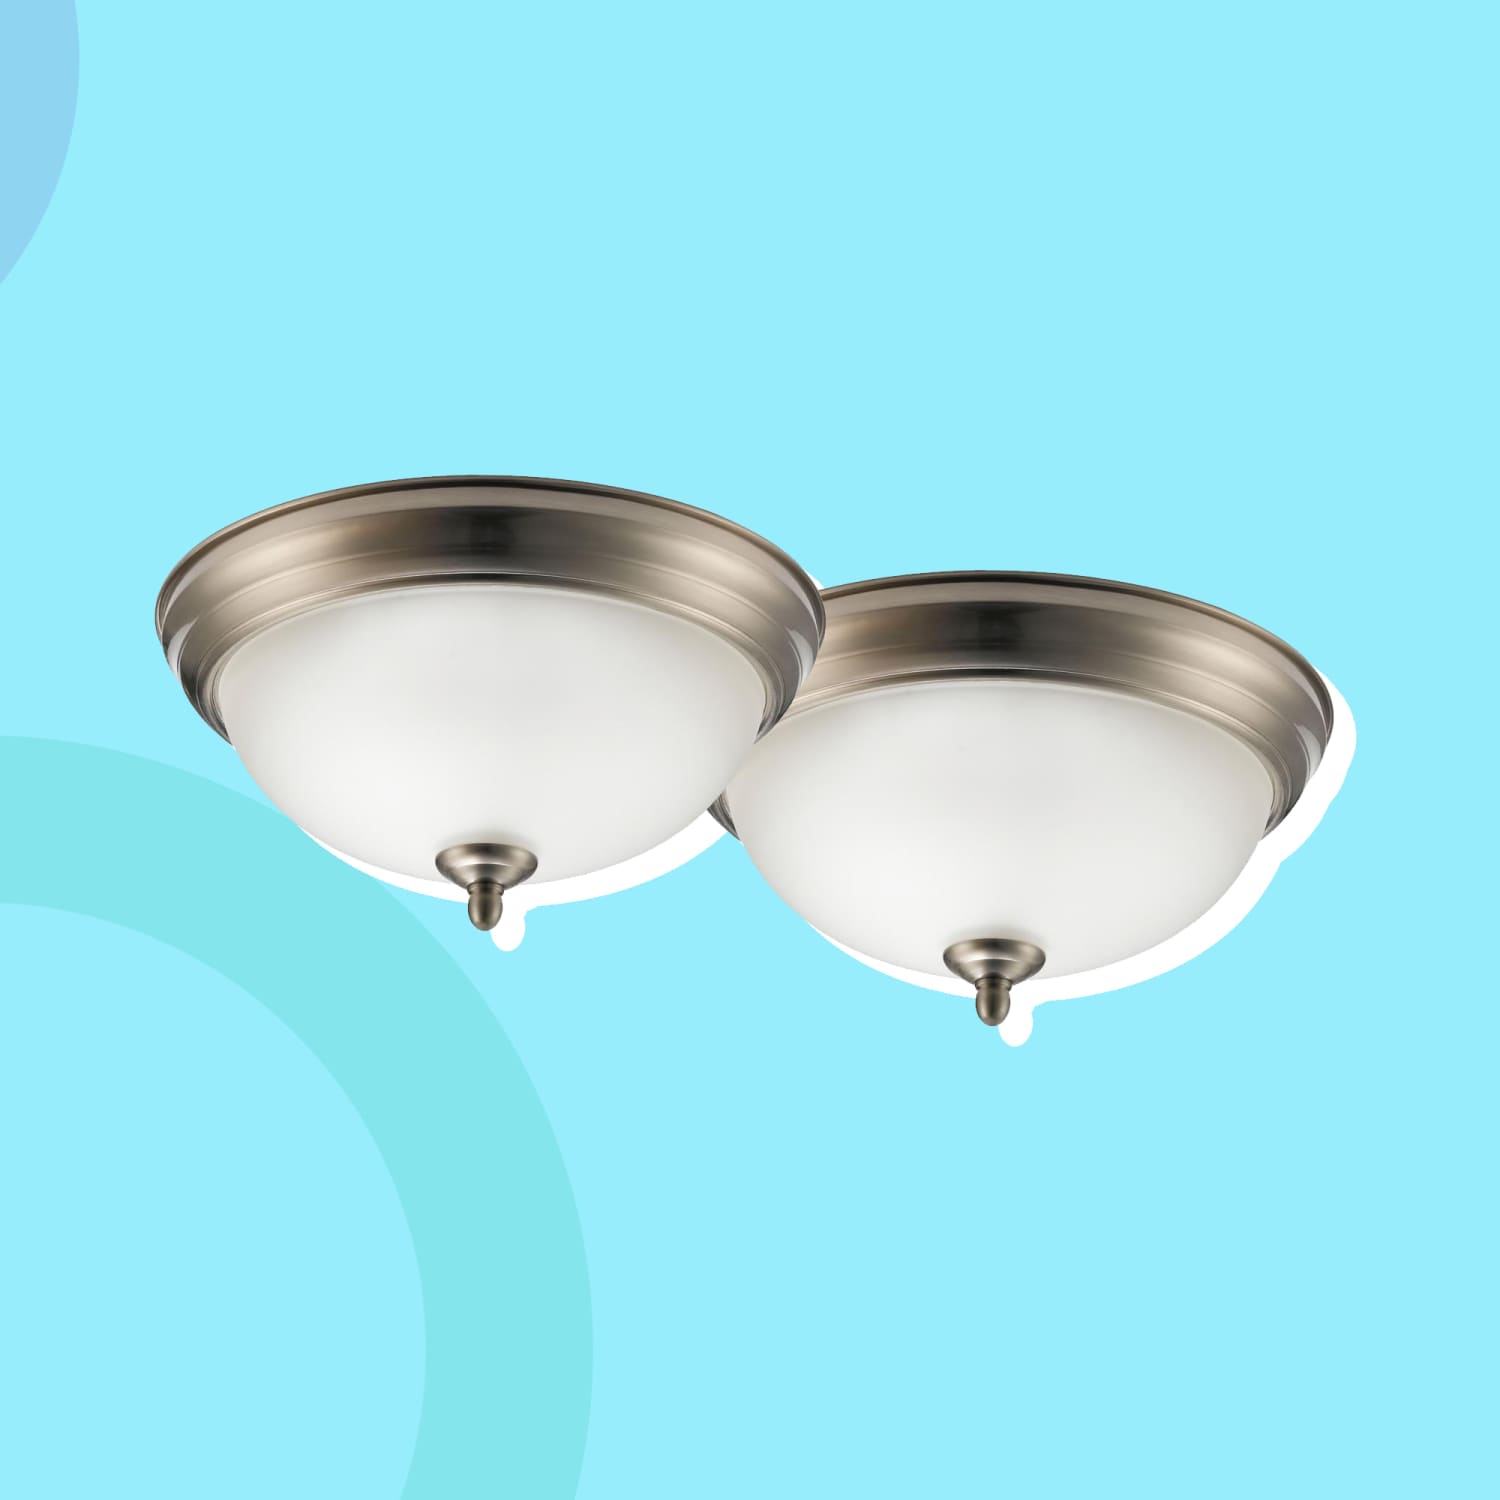
Step-by-Step Guide: Replacing Your Flush-Mounted Boob Light Fixture
Let’s address the elephant in the room: the infamous boob light. Found in hotels and mundane apartments, these unattractive fixtures are a favorite of landlords for their theft-proof design. The bulbous eyesores are practically begging to be replaced with a more stylish ceiling fixture. Our strong sentiments find resonance with many, including Mitzi, a lighting company with a whole campaign dedicated to banishing the boob light.
If the mere mention of this notorious eyesore sends shivers down your spine, fear not! You’re just a few simple steps away from bidding farewell to your boob light.
Illuminate the Situation
Before embarking on the removal process, ensure you’ve chosen a replacement flush-mount or semi-flush-mount fixture to fill the void left by the boob light. Why prolong the project when you can achieve near-instant gratification?
Turn the Tables
Let’s be candid: dealing with boob lights involves tackling that small, unsightly piece in the middle—the final. Loosen it first. Once it begins to free itself, you can remove the shade (the actual boob) and access the hardware. Your light might belong to the same fixture family but lack a nipple/finial. In that case, a simple twist and removal of the shade should do the trick.
Unlock the Setup
Identify the screws securing the outer ring of the fixture to the ceiling, and use a drill or screwdriver—whichever you find more comfortable from your vantage point—to remove them. Let the fixture dangle freely, suspended by the now-visible electrical wires. If you haven’t switched off the power at the breaker, do so now.
Connect the Dots
Observe the three wires emerging from your fixture: the “hot” (black), “neutral” (white), and “ground” (copper). Take note of their current connections, as replicating this is crucial during the installation. Safely disconnect each wire from its ceiling counterpart, ensuring you support the fixture to prevent any mishaps. Once all three wires are detached, your boob light should easily detach from the ceiling. (While the temptation to burn it might be strong after staring at it for so long, we advise against it.)
Mount a Fresh Bracket
Secure the bracket of your new, aesthetically pleasing replacement light fixture by screwing it into the exposed hole in the ceiling. If you feel uncertain about the installation process, consult visuals like the ones provided in this guide. When dealing with electrical home improvements, exercising an abundance of caution is always advisable.
Also Read: Manga18fx: Unleashing the Best Manga Experience for Fans
Reverse the Process
Now that your bracket is in place, it’s time to reverse the wire connection you previously disassembled. If the wires on your new fixture already have approximately half an inch of exposed metal at the ends, proceed to attach them to the ceiling wires—start with the hot wires, followed by the neutrals, and then the grounds. In case they lack exposed metal, employ electrical pliers to carefully strip away about half an inch of insulation before making the connections. After ensuring a secure wiring job, refer to your specific fixture’s packaging for guidance on fastening it to the bracket.
Let There Be Light
Install light bulbs and tighten any components that require it, then restore power and test your handiwork. If everything has gone as planned, you’ve successfully ousted the boob light and added a touch of beauty to your surroundings.
And here’s a reminder: While the topic of boob lights might elicit some chuckles, there’s nothing more grown-up than flawlessly upgrading your own ceiling fixtures.


